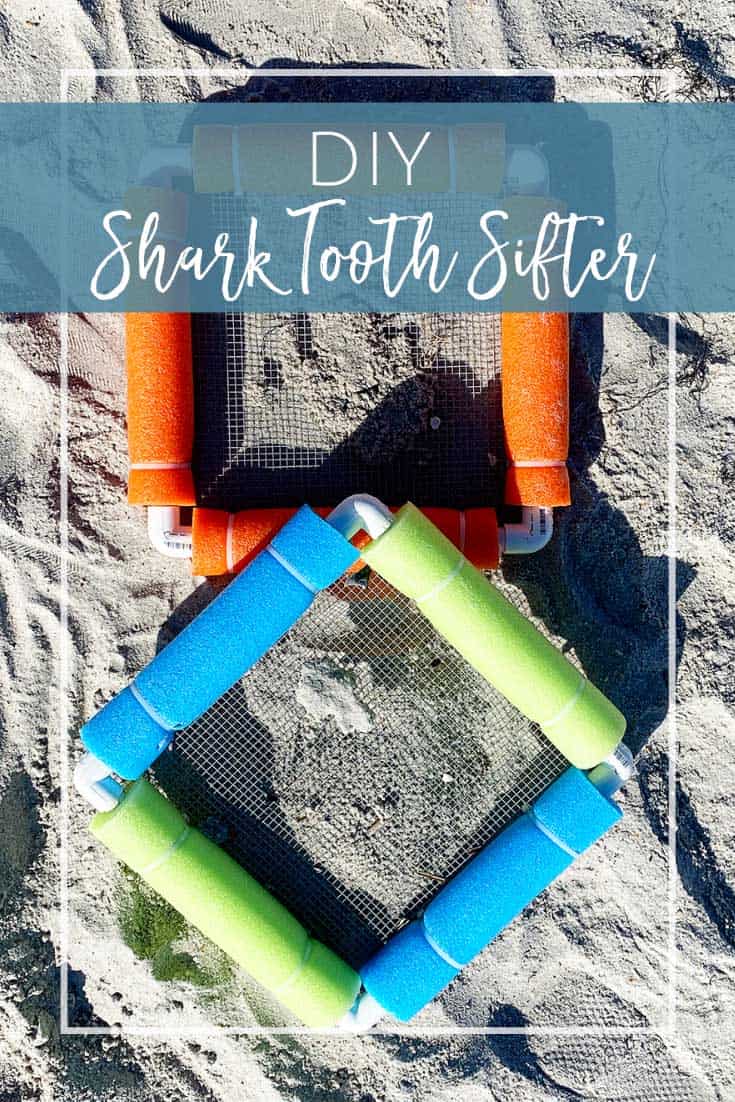
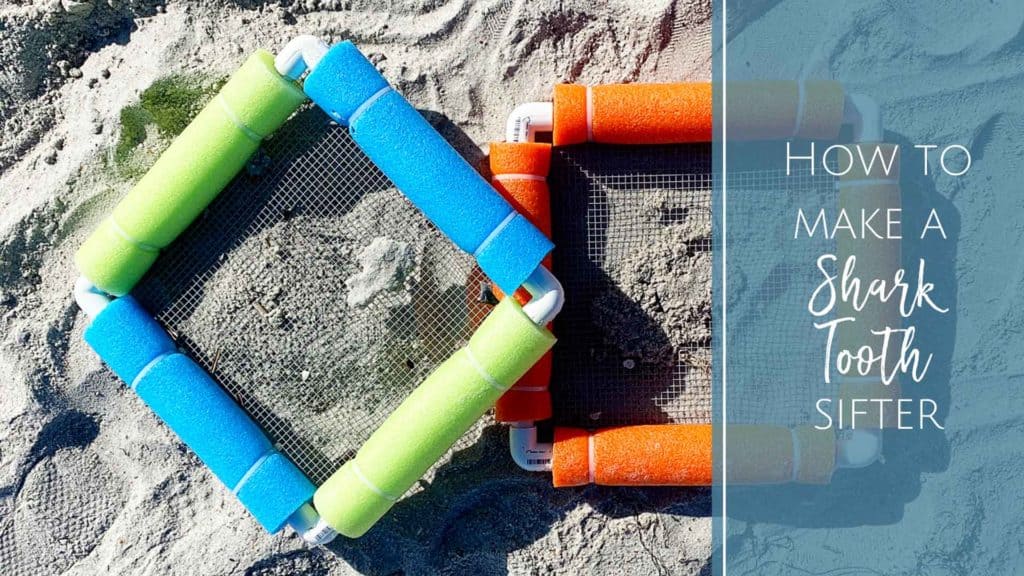
With lots of great beaches in North Florida where you can hunt for shark teeth it can be fun to search for tiny treasures. If you’re looking to kick your shark tooth hunting up a notch then a shark tooth sifter might be just what you need. This is a relatively easy project that’s also inexpensive.
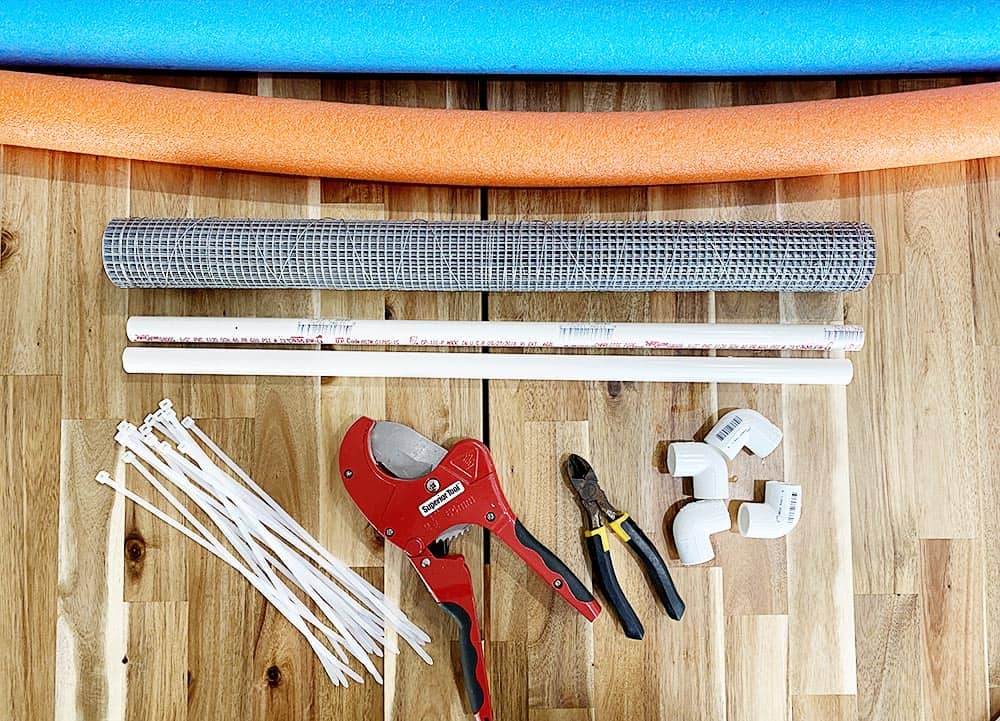
Materials Needed for a Shark Tooth Sifter
The materials listed are what you’ll need to make one sifter. If you don’t own wire cutters or a PVC pipe cutter then those are tools you’ll need for the project. This is one of those DIY activities where the more you make the cheaper it will end up being. I highly recommend you make one for each kid (and maybe adult in your family). It would also be a great project for a scout troop or other youth organization. All the supplies listed below are affiliate linked using to purchase online but everything can be found at your local hardware store.
1/4″ Wire Mesh
Wire Cutter
Zip Ties (20 per sifter)
1/2″ PVC Pipe (You can buy one long piece or several smaller pieces)
1-2 Pool Noodles
4 1/2″ PVC Elbows
PVC Pipe Cutter
Hot Glue Gun (not pictured)
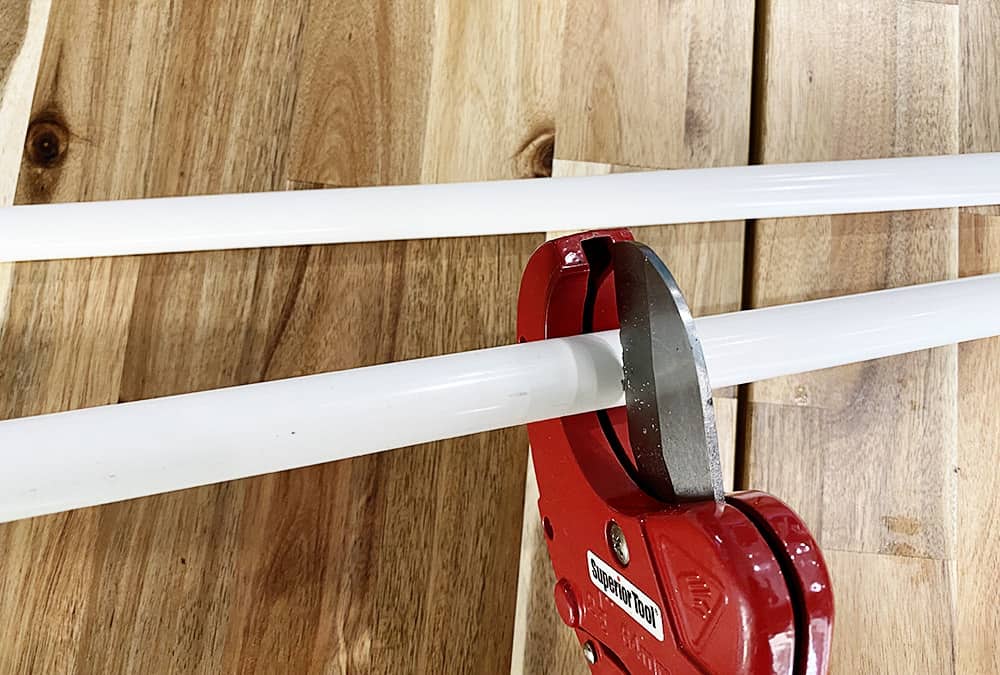
Step 1: Cutting The Pipe
You’re going to need to decide how big you want to make your shark tooth sifter. I bought pipe that was 24″ long so I just cut them in half and made it a 12″ square. It’s really up to you how big or small you’d like your sifter to be. Using your PVC pipe cutter, make your cuts, making sure you either cut all four sides the same length or you cut two longer and two shorter sides (to make a rectangle).
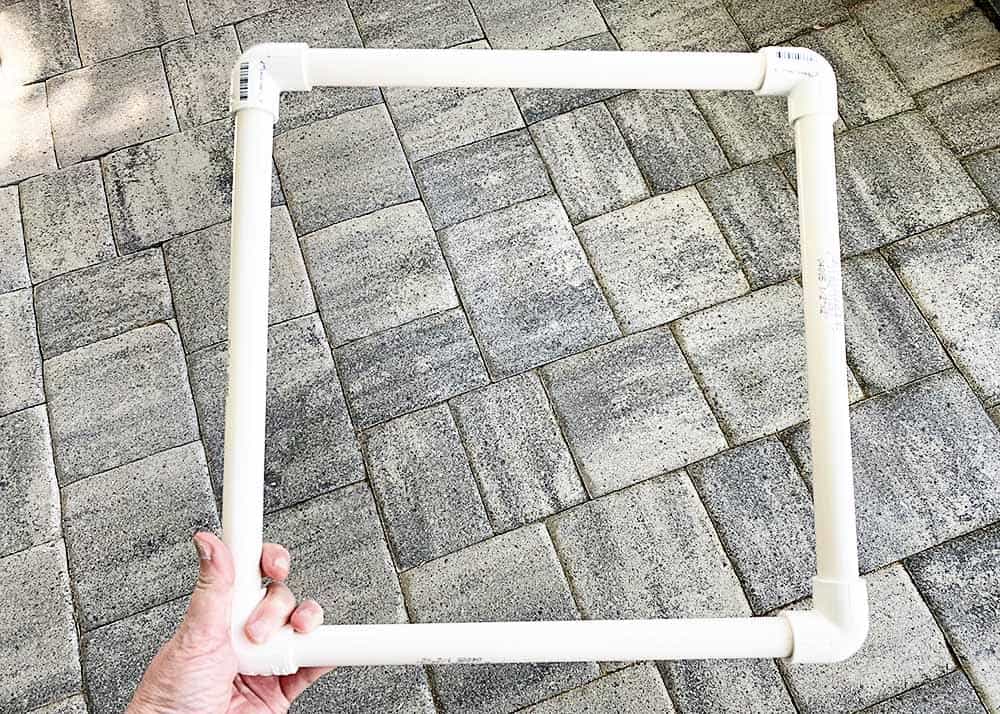
Step 2: Connecting the Pipe
Using your for PVC elbow pieces assemble your frame. The pipe pieces will push right into the elbows and I didn’t need to use any adhesive to keep it together. Just give it a good knock on the ground to make sure each piece is all the way in.
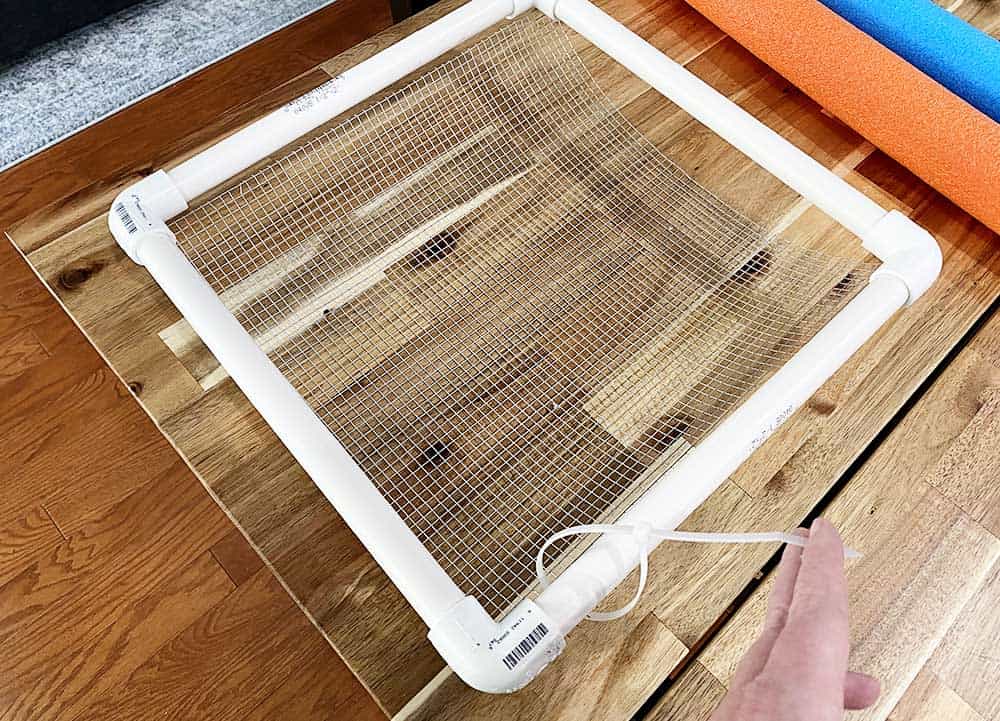
Step 3: Cut Your Wire
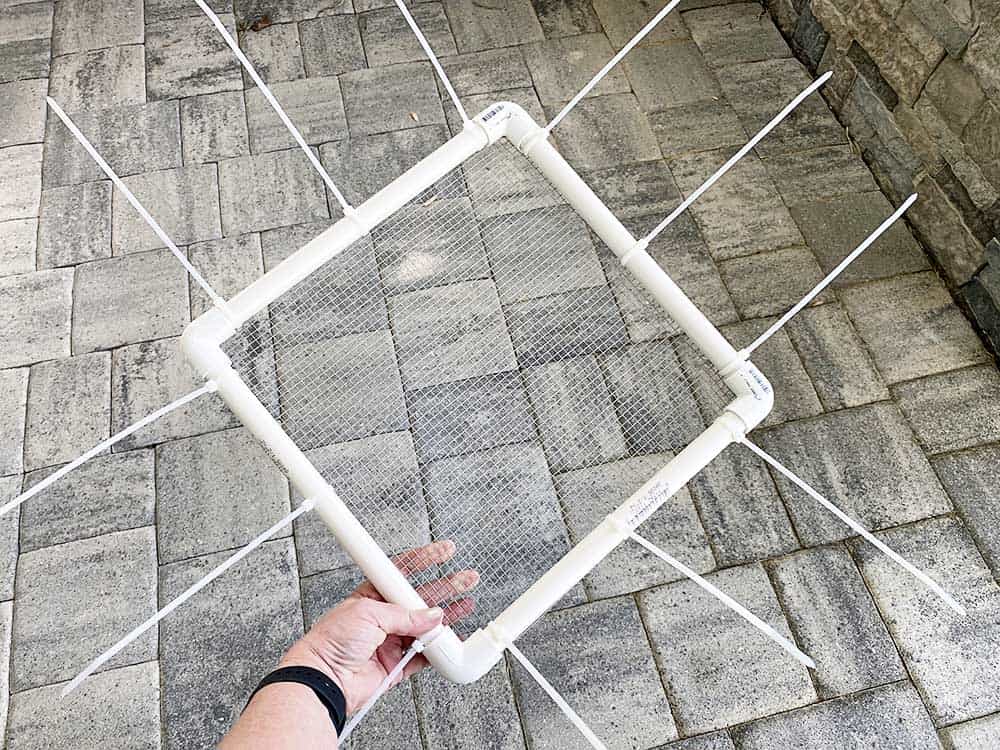
Grab your wire mesh and wire cutters and cut a piece of wire that is just slightly larger than your PVC frame. Be careful not to cut your hand on the wire, the area where you cut will be sharp. Lay your wire under your frame and secure with the zip ties.
Step 4: Attach Wire with Zip Ties
Use the zip ties to secure your wire mesh to the PVC frame. I used three zip ties per side however, if your frame is bigger you might need more. Make sure they are pulled nice and tight and then use your wire cutters to snip the ends of the zip ties.
Step 5: Cut Pool Noodle
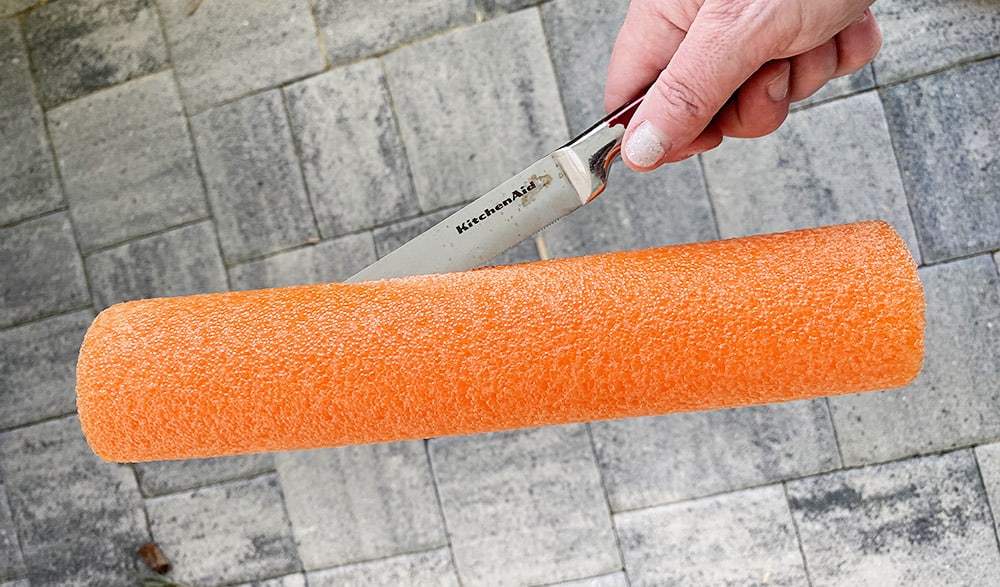
You’ll want to measure the length of your pool noodle so it’s the same size as the side of your PVC frame. You want the noodle to cover the pipe, but not the elbow. Use a serrated knife to cut the noodle for all four sides of your frame. Once your pieces are cut you’ll want to slice through one side of your noodle.
Step 6: Attach Pool Noodle
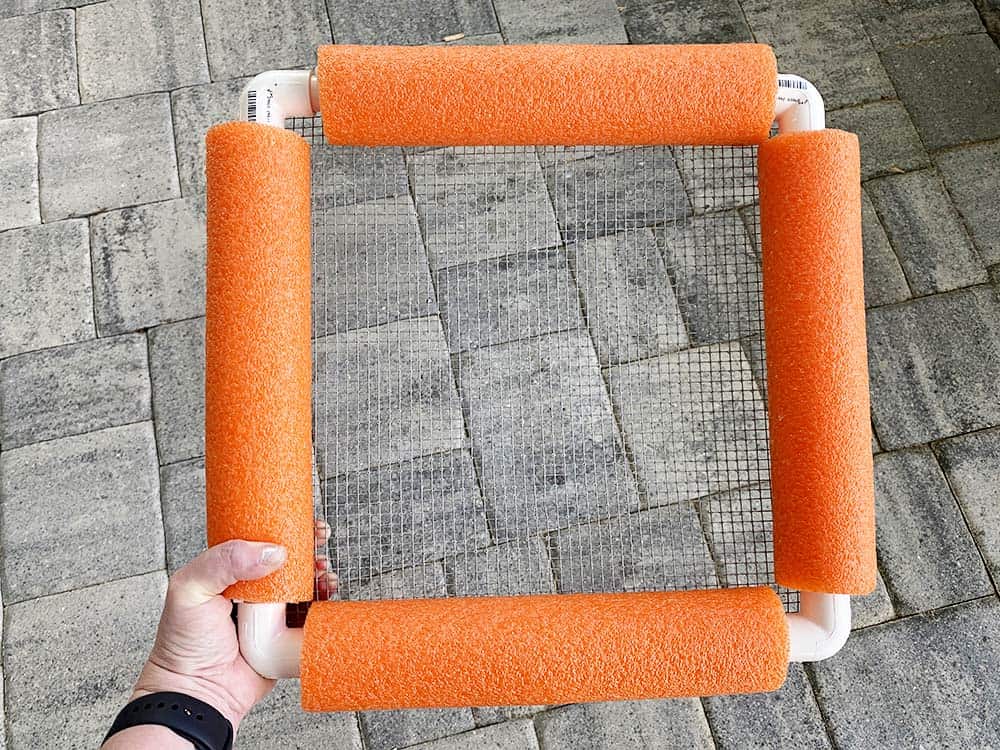
Pry open the sides of the pool noodle and slip it over the pipe edges of the frame. Be careful not to cut yourself on the wire mesh.
Step 7: Secure the Pool Noodle
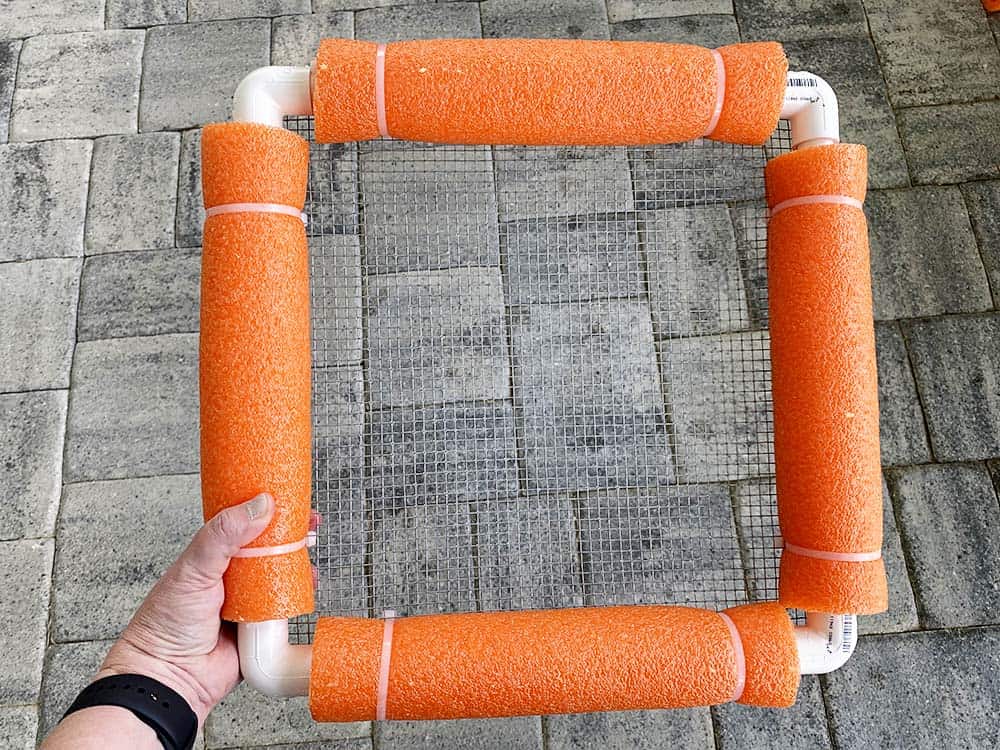
Using additional zip ties, secure the pool noodle to the frame. You’ll need to thread the zip tie through the wire mesh and I like to make sure the zip tie fastening point (those little squares) are pointed in, towards the mesh. Use your wire cutters or some scissors to trim the zip ties. The spot where you trim the zip ties can be sharp so turning them inward makes it less likely for little hands to get scraped. A lot of people ask if the pool noodles are necessary for the shark tooth sifter. I’d say YES! Not only does it cover the sharp wire, it also makes it so your sifter will float.
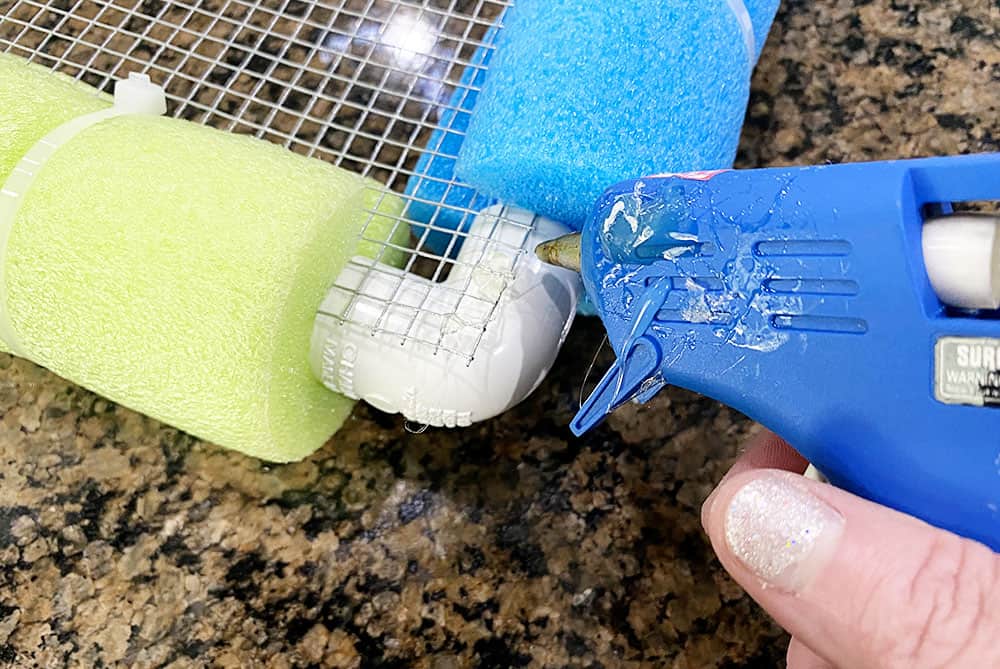
Step 8: Hot Glue
This was a step I added after I had finished assembling the sand sifter because I noticed the edges of the wire were sharp and stick out from where the pool noodle covers. Flip your frame over and cover the corners with hot glue. I did one application, let it cool for a few minutes and then went back over it with another application. This ensured there were no spots where the kids could get scraped or scratched while using the sifter.
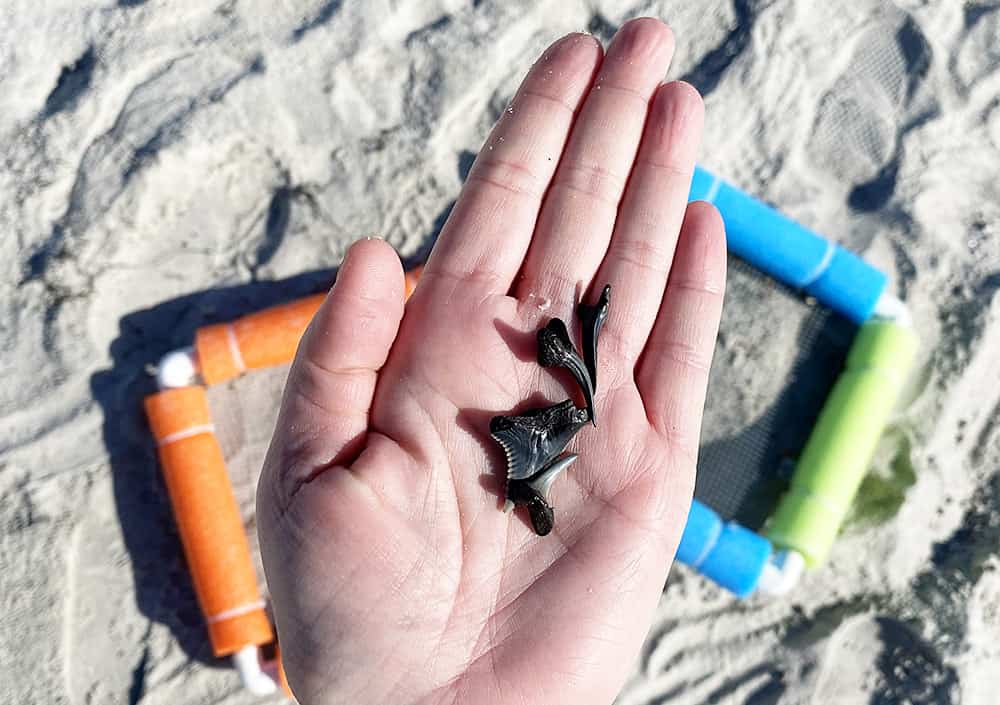
Now Go Find Some Shark Teeth
Once your sand sifter is complete it’s time to take it out and give it a test. I recommend using it in areas where there are lots of shell debris to sort through. Sifting actual sand doesn’t usually yield a lot of shark teeth. Beaches like Mickler’s Beach, and the area behind Fort Clinch State Park are good spots to start. If you’re feeling adventurous, plan a day trip to Gainesville where you can do a fossil hunting tour with Mudslinger Tours.
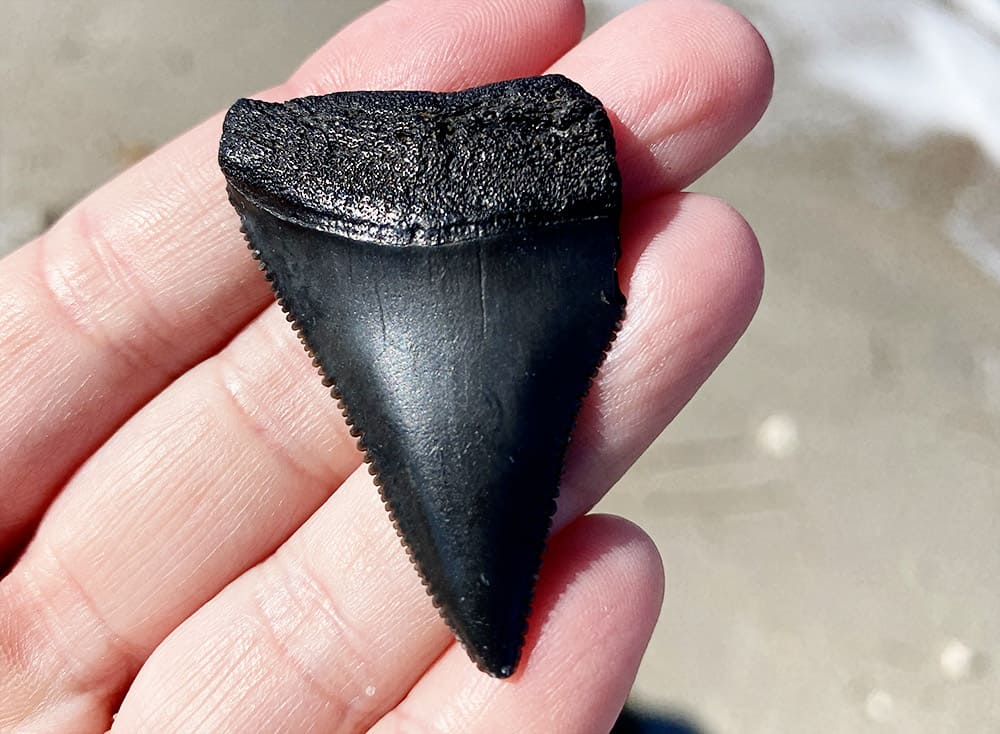
When you go out hunting for shark teeth you never really know what you’ll find. This Great White tooth was found in Amelia Island, near Fort Clinch. Keep your eyes open and your sifter ready, you never know what treasures await on the First Coast.
Shannon is a former Special Education teacher, turned stay at home mom that doesn’t spend a lot of time staying at home. Mom to Cole & Kiley, she loves cheering on the Gators, early morning visits to the beach and traveling with her family. She blogs about her family travel adventures at The Beckham Project and hosts the podcast, Jacksonville Momcast, where she chats with Jacksonville moms about motherhood and more in the 904.


Pingback: Gifts for Shark Lovers - Jacksonville Beach Moms
Pingback: Shark Teeth Hunting:: 5 Tips & Tricks - Jacksonville Beach Moms
Pingback: The Ultimate Guide to North Florida Beaches - Jacksonville Beach Moms
Pingback: Fort Clinch State Park - Jacksonville Beach Moms
Pingback: Kathryn Abbey Hanna Park:: 7 Things We Love - Jacksonville Beach Moms
Pingback: 2021 Jacksonville Gift Guide - Jacksonville Beach Moms
Pingback: 3 North Florida Beaches to Visit this Winter - Jacksonville Beach Moms